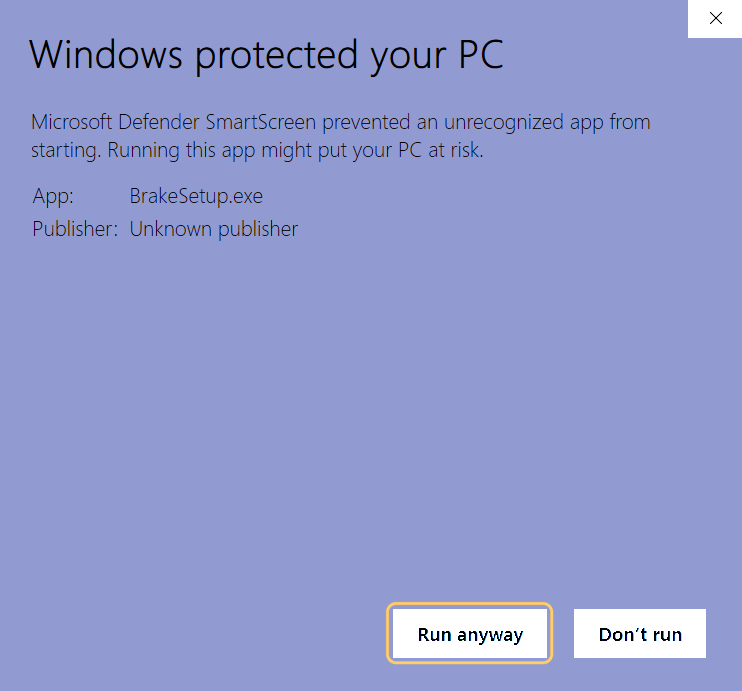
Click the yellow button below to download BrakeSetup.exe. It includes a 14-day free trial with everything included, including partner protection. No account or card needed. The trial starts when you first turn on protection.
Brake then installs its app files, shortcuts, and background services.
Installs to C:\Program Files\Brake
Step 3
Open Brake and save your recovery code
Launch Brake from the installer, desktop shortcut, or Start menu. On first launch, save your recovery code before turning protection on.
Ready to turn on protection
After the trial
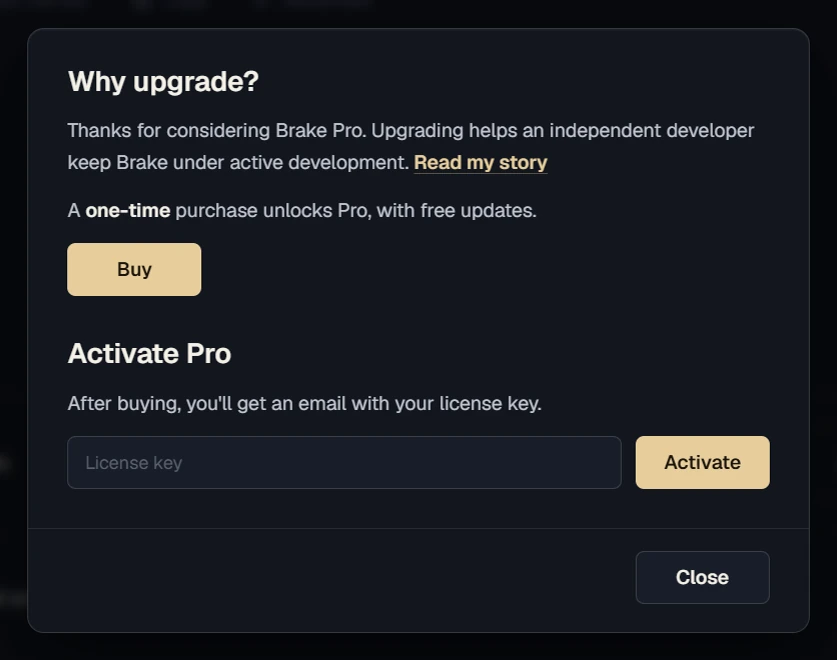
Activate Plus or Pro
When the 14-day trial ends, detection and the other Plus and Pro features stop working until you enter a license key. Lock me out stays free and needs no key. If you bought Plus or Pro, activate it with the key from your receipt email.
Open Brake and find the license activation option.
Paste the key from your receipt email.
Click Activate.
License activation and re-checks need internet. Partner alerts also need internet. You pay once and keep it for life on up to 3 PCs. Can’t find your key? Check your Gumroad receipt email, or email [email protected].